 This is a problem we're all likely to experience at some time or another, so we'll consider both common types of starter motor in our answer. A pre-engaged starter has the solenoid piggy-backed on the motor. The solenoid acts as a heavy duty switch and also pushes the starter drive into contact with the flywheel ring-gear. Other starters have a remote solenoid mounted in the engine compartment. Here, the starter's rotation causes the drive gear to be thrown down a spiral groove – or Bendix drive – on the shaft and into the ring-gear.
The problem is most likely to be a high resistance somewhere in the circuit between the battery, the solenoid, the solenoid's internal contacts, the starter, the starter's carbon brushes and the earth strap back to the battery. If the problem is in the main feed wires (ie, the battery positive cable and the engine or battery earth strap) then other circuits will be affected – so first try operating the starter with the headlamps on. If they're extinguished, along with the dash warning lights, this indicates a fault here. 'Chattering' of the solenoid is also a tell-tale.
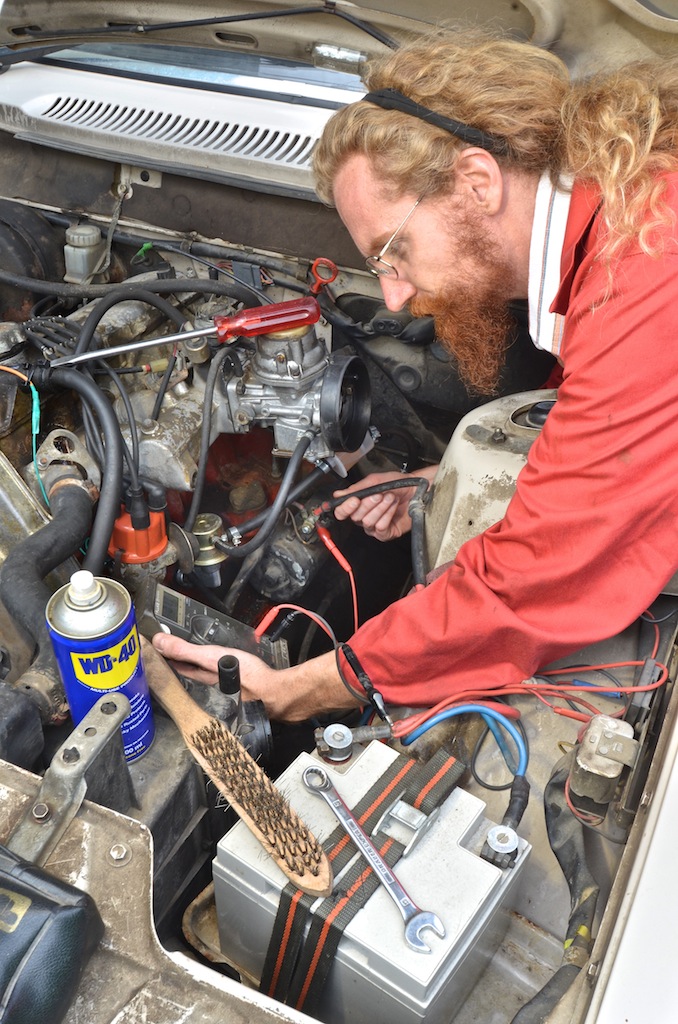 If that proves OK, take a stout screwdriver and bridge the two large connectors on the back of the solenoid with the ignition turned off and the car in neutral. Beware of sparking. If the starter operates reliably each time then this indicates a problem with the internal contacts of the solenoid (see later). Note: a remote-solenoid starter will turn the engine, so keep clear of moving parts.
If the starter is unreliable when conducting this test, disassemble and clean the connections to the solenoid terminals. Don't grease them. If the problem persists, the carbon brushes may be worn out or stuck in their holders. Replacing them is easy – though sometimes you'll need a soldering iron for the connecting leads. Very occasionally, the intermittent contact is between the motor and the engine block, so it may be worth removing the motor and cleaning the mating faces.
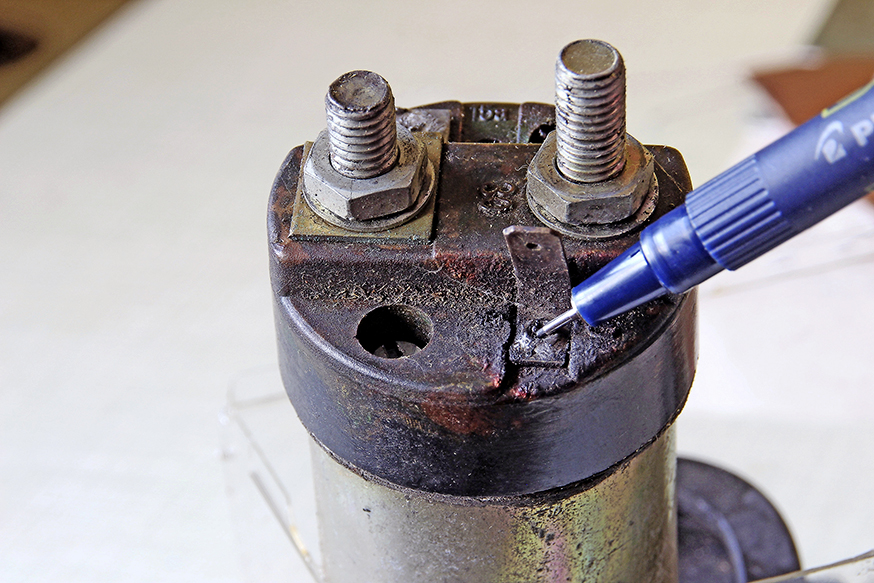
If the above tests isolate the problem to the internal contacts of the solenoid, then it can often be dismantled using a gas soldering iron or a heavy duty electric one (100W upwards). Remove the solenoid and take out the two screws that hold the Bakelite backplate in place. Apply heat to the soldered tag on the back of this plate. Gently pull the backplate free when the solder has melted.
Inside the backplate, you'll see the fixed contacts (part of the two connector screws) and the movable contact. You'll may find they are burnt or pitted. The bolts can usually be removed and the contacts refaced on a sheet of abrasive paper placed on a flat surface. The moving contact may not be removable – so you might have to reface this in situ as best you can. In some designs, the contact bolts can be turned 180° to give a fresh contact face. It may also be possible to turn the moving contact over.
On reassembly, clear the hole of old solder and carefully line up the wire before putting the cap back on. Degrease the wire and contact before soldering.

Very helpful, clearly explained
That spanner on the battery is very dangerous, you should warn against doing this.
Lot better fault diagnostics explained for the starter system,l reckon your Mechanic must have been an auto electrician